.webp)
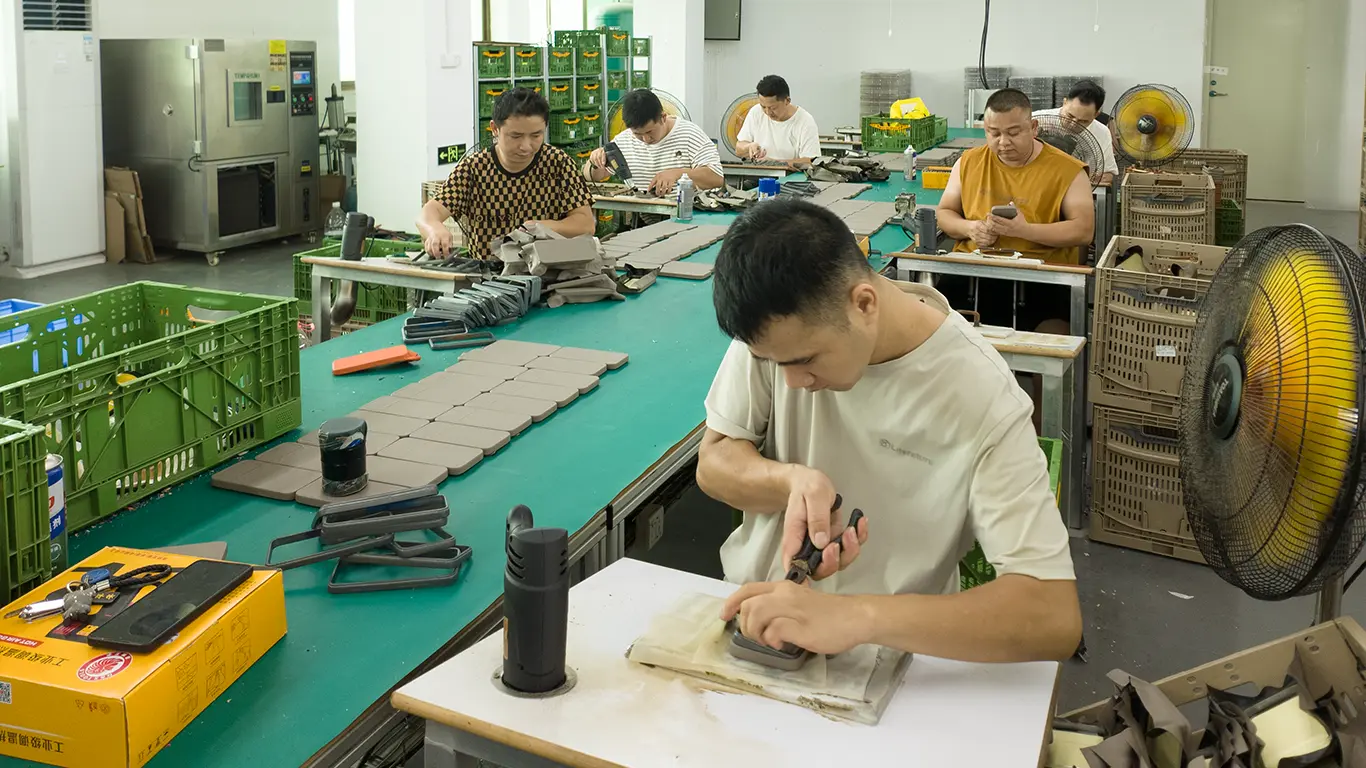
“A brown leather phone case with MagSafe” is a starting point, but it leaves important decisions open. The device fit, case structure, material finish, hardware and packaging all need a shared reference before sampling begins.
For an accessory brand, the goal is to turn a design direction into a brief that the development team can review. Use these seven checkpoints to make the first discussion more specific and to keep sample approval focused on the details that matter to your collection.
01 / DEFINE THE BUILD
Start with the device and case construction.
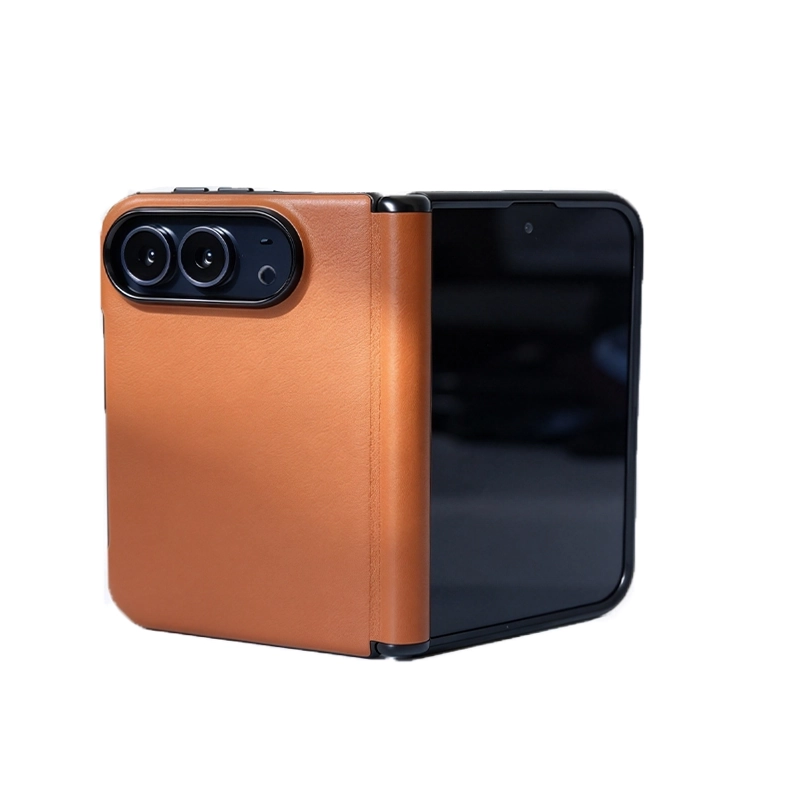
State the exact device model and the intended case format. A leather-wrapped shell, a hybrid case with a separate bumper, and a folio cover are different development briefs. Include front, back and side references so the team can discuss how the materials meet at the edges and corners.
- Identify the device model, camera layout and required openings.
- Show which surfaces should be wrapped, exposed, stitched or lined.
- List card slots, stands or other features that must be part of the initial design.
Reference products can communicate the direction, but the approved specification should describe your own construction and finish. Browse the phone case collection to compare formats before preparing your brief.
02 / SPECIFY THE MATERIAL
Name the material, then approve the finish.
Do not rely on a broad label such as “premium leather.” Ask the supplier to identify the proposed material, grade or construction, surface treatment, lining and any supporting layers. If the project uses a synthetic leather finish, state that clearly in the specification and product description.
A swatch helps define texture and color, while a wrapped sample shows how that material looks on the finished shape. Review both. Ask the development team to confirm the material thickness and allowable variation for the proposed case structure rather than borrowing a number from a different product.
Keep an agreed material swatch together with the approved finished sample. Record the finish, color reference and sample version so later production discussions use the same baseline.
03 / ALIGN THE VISUAL DETAILS
Make color, paneling and logo placement explicit.
Provide artwork files and a placement drawing for the logo. Describe the desired treatment—such as embossing or another documented option—and ask for a sample of the actual execution. A logo preview on a screen does not show its depth, edge definition or position on a wrapped surface.
For a two-tone design, show the panel boundary and the color of each component. Include the thread, lining, buttons, camera accents and stand hardware in the color review. Where color matching is critical, agree on the physical reference and how the sample will be assessed.
04 / TEST THE FINISHED PRODUCT
Describe how every functional feature will be checked.
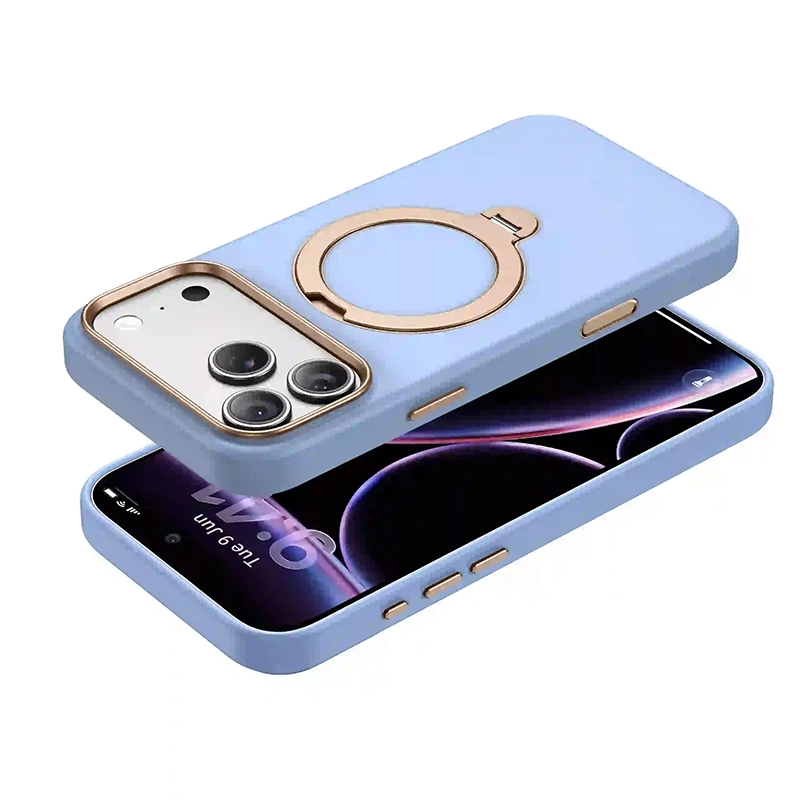
If the brief includes magnetic attachment, wireless charging or a stand, list the intended devices and accessories. Agree on the test method and acceptance criteria with the development team, then assess the finished case with its wrapping, lining and hardware in place.
- Check the fit, camera opening, port access and button response on the intended device.
- For magnetic accessories, review alignment and attachment using the agreed setup.
- For a stand, check the intended viewing positions and stability.
- For card storage, confirm the intended capacity and retention with the agreed cards.
A photograph can show a design, but it does not establish a drop rating, charging certification or test result. Only use performance claims supported by documentation for the relevant product and configuration.
05 / CLARIFY THE DEVELOPMENT SCOPE
Agree on tooling responsibilities before work starts.
Ask whether the proposed design uses existing tooling, modified tooling or a new private mold. Confirm what is included in the development quotation and which design changes could require additional work.
Record the agreed responsibilities for tooling, sample revisions, approval, maintenance and storage. Where ownership or exclusivity matters to your project, confirm those terms in the project documentation. Avoid assuming that a mold quotation automatically includes every later change.
06 / CREATE AN APPROVAL RECORD
Review the sample against a written checklist.
Separate appearance checks from functional checks. Look at the leather or material surface, corner wrapping, panel transitions, lining, edges, logo treatment and hardware finish. Then check fit and the features listed in your brief.
Mark any revisions on photographs and assign a version to each sample. Keep the approved version available to the teams responsible for production and inspection. If a material or component changes after approval, ask how that change will be reviewed before production continues.
A clear record of the material, color, construction and functional checks makes the next decision easier to review.
07 / PLAN BEYOND THE CASE
Include packaging and delivery in the brief.
Specify whether you need retail packaging, barcode labels, an insert, bundle packing or preparation for a fulfillment warehouse. Provide the current requirements from your sales channel and confirm the packing arrangement before approving the final project specification.
Ask for the product-specific minimum order, sample schedule and production lead time against the agreed design. Include the quantity by color, packaging details and delivery destination. Final timing should be confirmed for your project rather than inferred from a general catalog statement.
READY FOR THE FIRST DISCUSSION
A practical checklist for your OEM brief.
| Brief item | What to provide or confirm |
|---|---|
| Device & format | Exact model, case type, views and construction references. |
| Material & finish | Material identification, texture, lining and approval swatch. |
| Color & branding | Color references, artwork, placement and hardware finish. |
| Functional features | Magnetic attachment, charging, stand or storage requirements and the agreed checks. |
| Tooling & samples | Development scope, responsibilities, revision process and sample versions. |
| Packaging | Retail box, labels, inserts, bundles and fulfillment instructions. |
| Order & delivery | Quantity by color, destination and the schedule to be confirmed. |
You do not need every answer before contacting a manufacturer. Send the references and requirements you already have, clearly mark the open questions, and use the sampling discussion to resolve them.
Explore Nomecase products for a starting reference, or bring your own design and packaging brief to the next conversation.